
A good strategy to reduce the expense of brake replacement is to change your own brake pads and rotors. This is not only a fantastic method to save money, but it’s also a reasonably simple task that a fairly skilled DIYer can complete in a few hours. This article serves as a general how-to for changing brake rotors and pads.
Visually examining the pads for wear indicators might help you determine whether you need new brakes. If you experience any signs of a malfunctioning brake, you should take this action right away. These may include noises like squeaking, grinding, or pulsing from the pedal, as well as shimmy in the steering wheel (or shaking). Once you’ve modified them. It’s a good idea to keep track of when you replaced them so you can determine when to repair or at the very least inspect your brakes.
- SECURITY FIRST
Install wheel chocks before leaving the car parked on a dry, level surface. Wear safety glasses and gloves for protection. When raising the car, exercise caution. For the jack and jack stands, choose safe jack points.
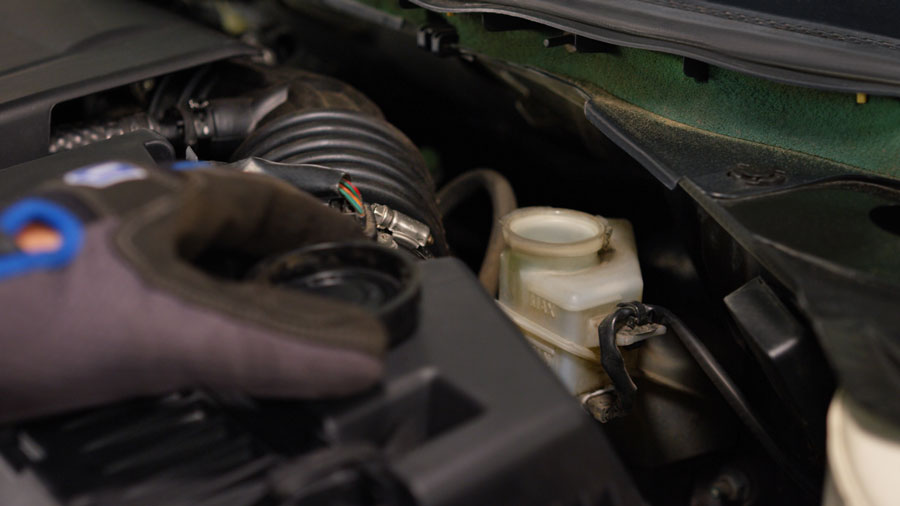
- CHECK THE LEVEL OF THE BRAKE FLUID
Check the brake fluid reservoir by opening the hood. It must have some fluid evacuated if it is full. By doing this, you’ll be able to prevent brake caliper piston overflow spills
3. Raise the car and take the wheel off. While the wheel is stationary and on the ground, remove the lug nuts using a breaker bar and socket. Utilizing a hydraulic jack and a safe location, raise the car. A jack stand or stands should be placed under the necessary points before you securely drop the vehicle onto them. Wheel and lug nuts should be taken off.
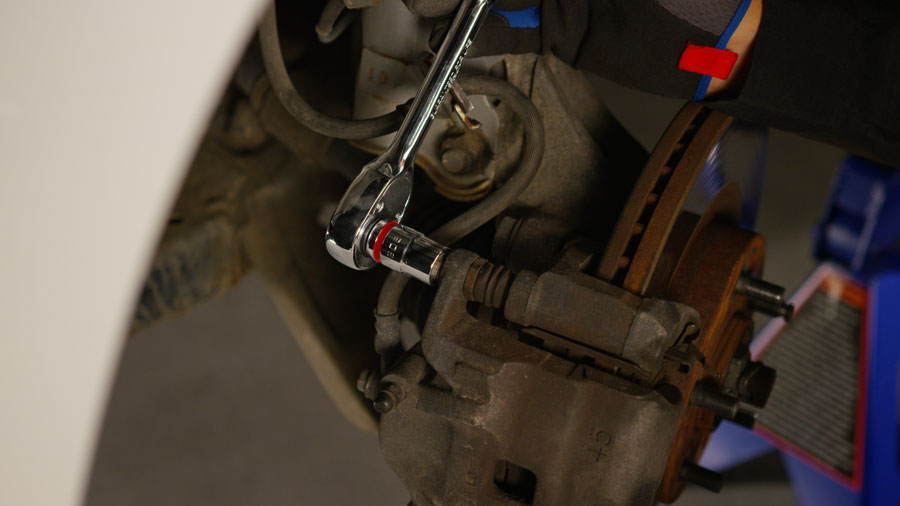
4. REMOVE THE CALIPER AND THE BOLTS
The caliper bolts ought should be quite simple to access. It will be simpler to access by turning the wheel to the left or right. Use a bungee cord to suspend the caliper after it has been taken out. Note: Depending on your car, removing the caliper could need different procedures.
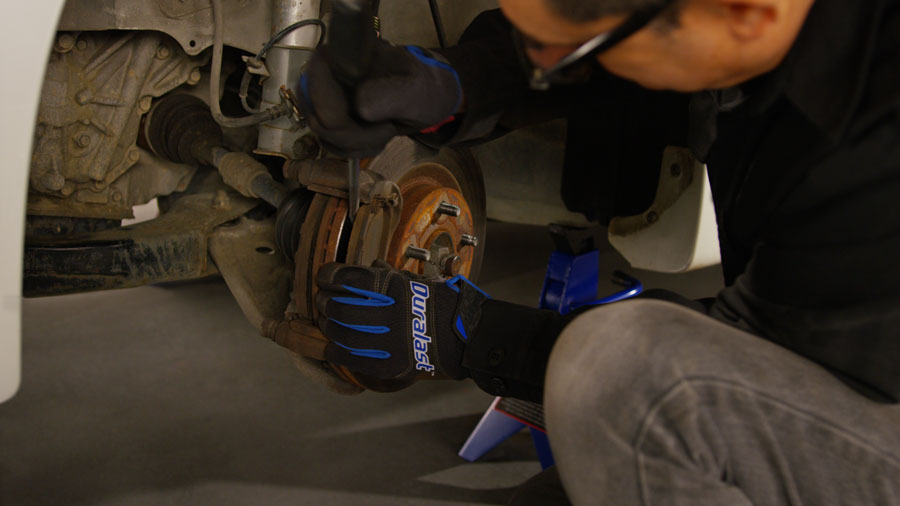
5. THE OLD PADS AND ROTOR MUST BE REMOVED.
Check the worn-out pads for irregular wear patterns. Uneven wear is a sign that the pad or pads are “sticky” as a result of a sticking caliper piston, worn pad or caliper hardware, or a lack of lubricant. When checking for uneven wear, the brake pad box will have a guide available for reference.
Remove the rotor after removing the pads. In order to remove the rotor from many automobiles, you must first remove the caliper mounting bracket. The spindle assembly is bolted to the brake caliper mounting bracket, which is bolted to the brake caliper. Remove the brake caliper, then the brake caliper bracket, in order to remove the brake rotor. The rotor can then be accessed as a result.
Keep an eye out for any rust or uneven wear when removing the rotor. To complete the removal from the hub assembly, you might require a mallet or a rust-penetrant like PB Blaster.
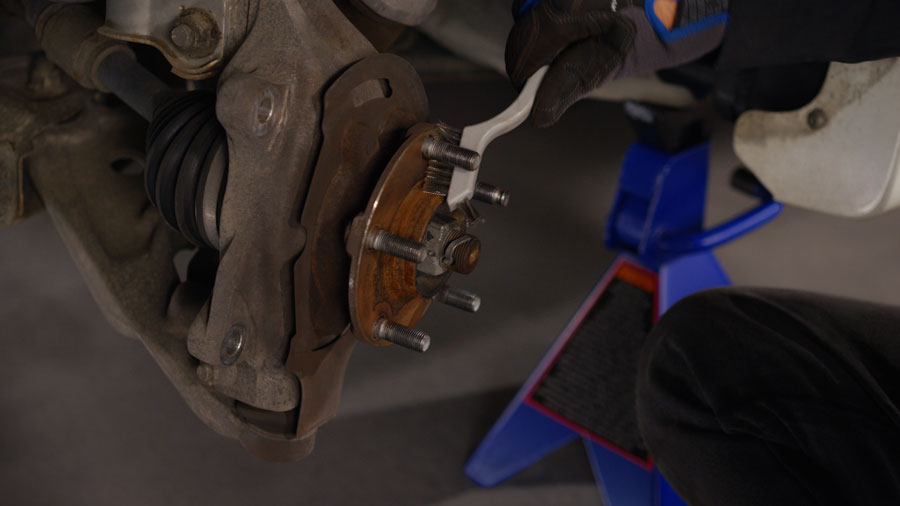
6.CLEAN THE ROTOR MOUNTING SURFACE
To get rid of rust and debris, the hub surface needs to be cleaned with a wire brush. By doing so, the potential of pedal pulsation will be completely eliminated and the new rotor will fit flush on the hub. Pulsation in the pedal can be caused by rust that is as thin as a sheet of paper.
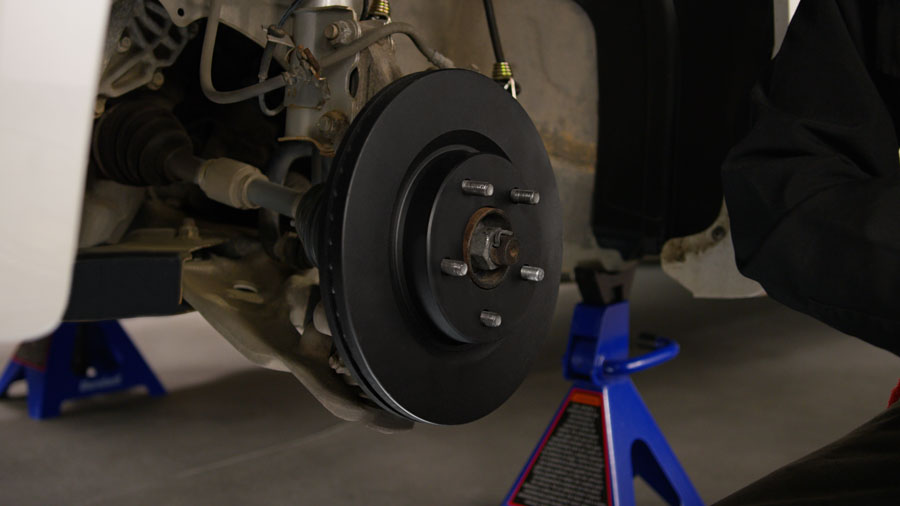
7. INSTALL THE NEW ROTOR
Look at you. You’re doing great.
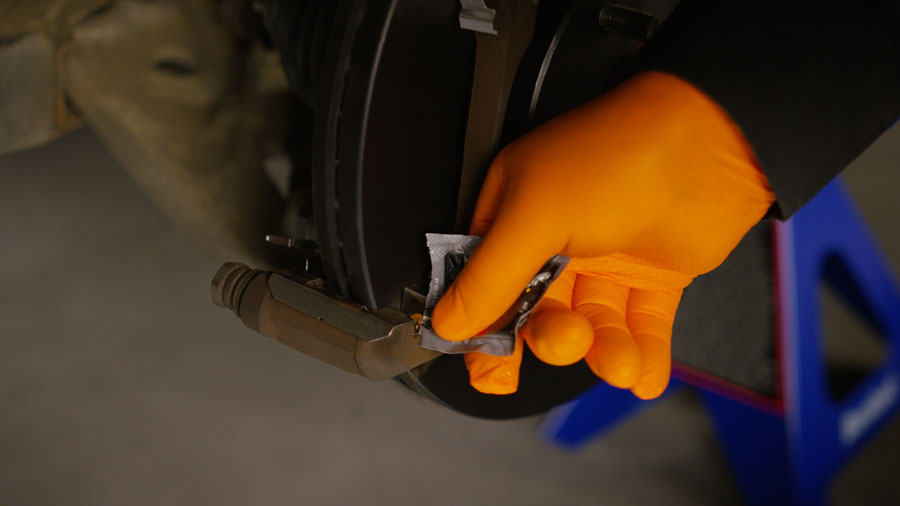
8. SET BRAKE HARDWARE IN PLACE
New hardware should be used for the brakes. At slow stopping speeds, worn brake hardware causes vibrations that are audible as brake noise. Every time you replace brakes, these clips need to be replaced. Before fitting the hardware, make sure to put brake lubricant at the slider contact points.
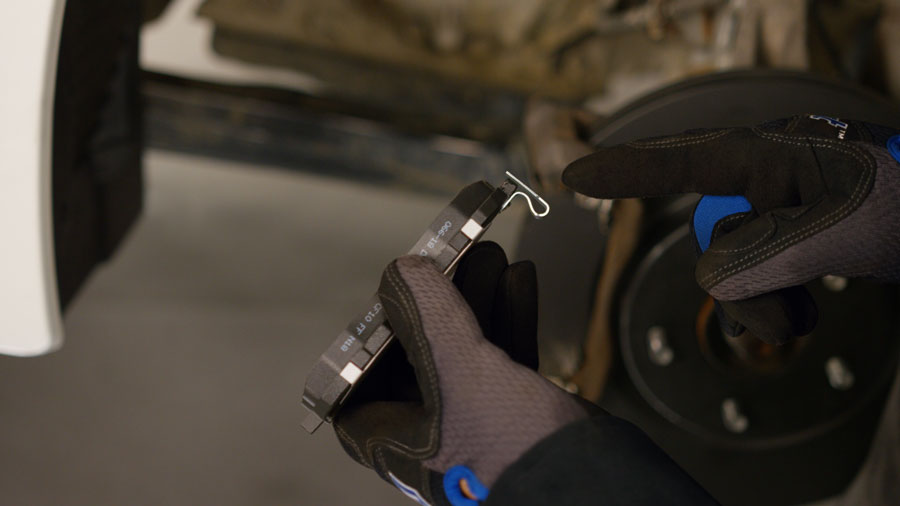
9. GET BRAKE PADS SET UP AND READY
To accurately install the pads, pay attention to the wear-sensor position orientation. Wear-sensor positioning varies between pads. Some pad sets only include wear sensors on the inner pads, whereas other sets have wear sensors on all four pads.
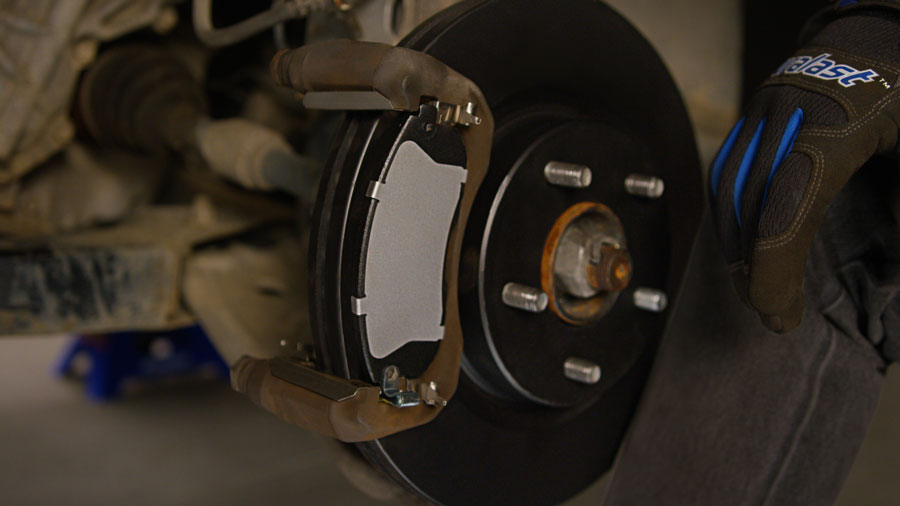
10. INSTALL NEW BRAKE PADS
Looking good over here!
11. CHECK THE BRAKE PISTON AND CALIPER, THEN COMPRESS
Check for any brake fluid seepage by looking at the brake caliper and piston. Use the front/rear disc brake pad spreader set to securely seat the caliper piston if the caliper and piston are clean. Through Loan-A-Tool, you may get a free spreader set from any AutoZone. * On some rear disc brakes, the caliper pistons screw in and need the disc brake pad spreader set to be correctly seated.
12. SET UP THE CALPERS
Put the caliper back on the bungee rope after removing it. Important note: Be careful not to overtighten the caliper bolts. This could result in much more serious issues. After starting to tighten the bolts using a socket, use a torque wrench to finish the job. Any AutoZone location that offers Loan-A-Tool has a free torque wrench available for checkout. For the correct torque specifications, consult a service manual.

13. Examine the brake fluid reserve.
If necessary, top off to the maximum fill line. Before moving on to the next step, confirm that the brake fluid reservoir cap is in place. This will prevent spills.
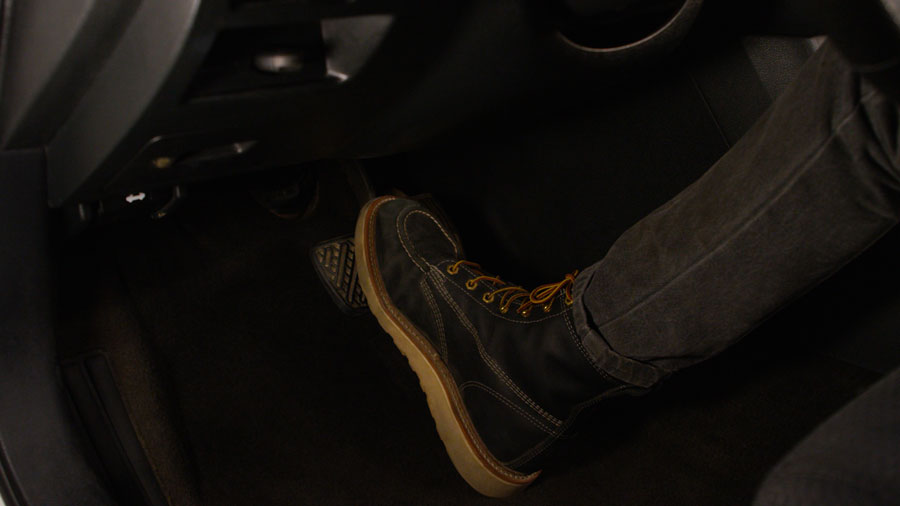
14. PUMP OF BRAKES
This will ensure that the system is functioning and that the braking fluid is flowing correctly. Slowly pump the brake pedal until it feels firm while seated in the car. WARNING Don’t depress the brake pedal all the way. The brake master cylinder assembly may sustain internal damage as a result.

16. CHECK THE BRAKE FLUID RESERVOIR AGAIN
Top-off again if necessary. Always re-install the cap after topping off to avoid spillage.
17. INSTALL THE WHEEL AND LOWER THE VEHICLE
Install the wheel and tighten the lug nuts while the vehicle is raised. Raise the vehicle with a jack, remove the jack stands, lower the vehicle until the wheel is just touching, and tighten the lug nuts with a torque wrench. Consult your owner’s manual for the proper torque for your vehicle.
18. REPEAT ON THE REMAINING WHEELS
Make sure the brake pedal is firm before driving.
19. GO FOR AN EASY DRIVE
Go for a safe, easy drive to break in the new brakes. On a safe road, accelerate to around 50mph. Apply the brakes, not too hard, and slowly bring the vehicle’s speed down to 30mph. Continue to drive at this speed for 2 to 3 minutes to allow the brakes to cool. Repeat this process four to five times until the new brakes are ready for daily use. This process is known as bedding brakes.
