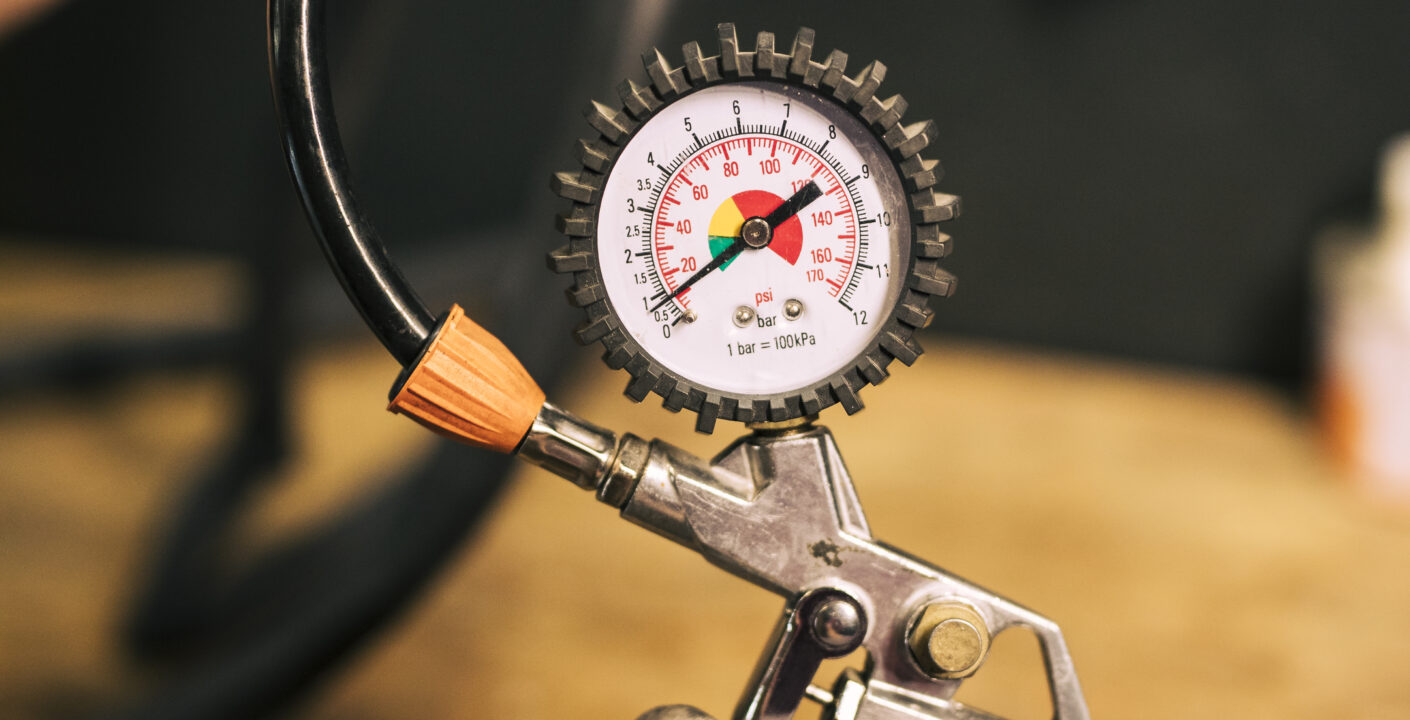
Your engine’s performance depends heavily on good cylinder compression. If you’re dealing with rough idling, misfires, or poor fuel economy, a compression test can help pinpoint internal engine issues such as worn piston rings, leaking valves, or a blown head gasket. The best part? You can perform this diagnostic test yourself with just a few tools and some mechanical know-how.
In this blog post, we’ll walk you through the process of performing a compression test on your engine step-by-step.
What Is a Compression Test?
A compression test measures the pressure created in each cylinder when the engine turns over. Healthy engines typically have compression readings between 125 and 175 psi per cylinder (though this varies by engine). More importantly, the numbers should be consistent across all cylinders—within about 10-15% of each other.
Tools You’ll Need
-
Compression tester (with adapters to fit your spark plug threads)
-
Ratchet and spark plug socket
-
Screwdriver or fuse puller
-
Battery charger (optional but helpful)
-
Safety gloves and glasses
-
Pen and notepad for recording readings
Pre-Test Preparations
-
Warm Up the Engine:
Run your engine for about 5-10 minutes. A warm engine provides more accurate results, as metal parts expand to operating sizes. -
Disable the Ignition System:
Remove the fuel pump fuse or ignition coil connector to prevent the engine from starting during the test. -
Remove All Spark Plugs:
Use your socket and ratchet to remove all spark plugs. This reduces resistance and allows the engine to crank more easily.
How to Perform the Compression Test
-
Insert the Compression Tester:
Screw the tester into the spark plug hole of the first cylinder. Make sure it’s snug to avoid leaks. -
Crank the Engine:
Have a helper crank the engine for about 4–6 revolutions while you watch the gauge. You can also use a remote starter switch if working alone. -
Record the Reading:
Note the highest pressure reading the gauge reaches. Then release the pressure and move on to the next cylinder. -
Repeat for All Cylinders:
Perform the test on each cylinder in turn and record all the values.
Analysing the Results
-
Healthy Cylinders: Should show consistent readings across the board.
-
Low Compression in One Cylinder: May indicate a valve issue or a bad head gasket.
-
Low Compression in Two Adjacent Cylinders: Often points to a blown head gasket between them.
-
Low Compression in All Cylinders: Could suggest worn piston rings or a timing issue.
If you find one or more low readings, you can follow up with a “wet compression test”—repeat the test after adding a tablespoon of oil into the low-pressure cylinder. If compression improves, worn piston rings are likely the issue. If not, it could be valves or head gasket-related.
After the Test
-
Remove the tester from the last cylinder.
-
Reinstall all spark plugs.
-
Reconnect the ignition or fuel system.
-
Start the car and ensure it’s running smoothly.
Performing a compression test is an essential part of engine diagnostics that can reveal a lot about the health of your vehicle’s internal components. It’s a relatively simple and cost-effective procedure that can help you catch engine problems early—before they turn into costly repairs.
Got your compression numbers? If you’re unsure how to interpret them, feel free to drop your results in the comments or consult a trusted mechanic.


